Hotline đặt Bánh sinh nhật
Hà Nội: 03.666.22.666CHOCOLATE FLORAL WRAP -
Hunnie Cake (Lambanhngon.com) - Dạy làm bánh - Đặt bánh cưới, sinh nhật


Acetate

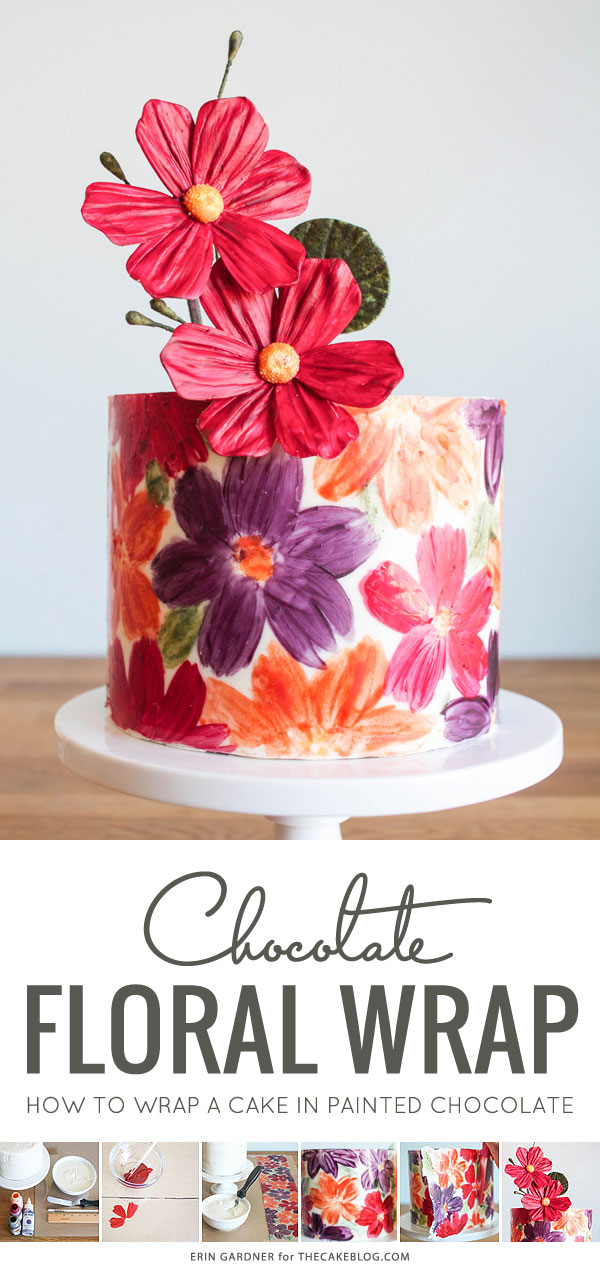
CHOCOLATE FLORAL WRAPPED CAKE
a tutorial by Erin Gardner
Supplies
Crumb-coated Cake, refrigerated
White Chocolate
Colored Cocoa Butters (Chef Rubber natural collection in red, orange, purple, and green)
Offset Spatula
Paint Brush
Ruler
Acetate Sheet
Piece of cardboard to work on
Scissors
Small Knife

Find the circumference of your cake by multiplying the diameter x Pi (3.14). I used a 6-inch round cake, so my circumference was 6 x 3.14 = 18.84-inches. Measure the height of your cake using the ruler.

Cut the acetate strip so that it’s 1/4-inch winder than the height of your cake and 2 to 3-inches longer than the circumference of your cake. Leave little triangular flaps at either end of the piece of acetate to make it easier for you to move the strip around once it’s coated in chocolate. If your acetate strip is shorter than the circumference of your cake, tape pieces together until you get the length you need. Flip the piece of acetate over so that you’re working on the clean side, and place it onto a piece of cardboard. This makes it easier to work with the strip and helps with clean-up later.

Melt the colored cocoa butters and paint on your design. I free-handed very simple daisies and leaves, but you could use a template or pattern under the acetate as your guide. You could also use a pre-printed chocolate transfer sheet

Before you finish the wrap, bring your cake out of the fridge and set it onto the stand that you’ll be serving it on. This works best on a stand with a smooth surface and no lip.

Pour melted white chocolate onto your design and spread it to the edges using your offset spatula. For this technique you do not need to temper the chocolate. It leaves you more time to work with the chocolate and will cut easier when ready to serve. Using acetate will help it keep some shine even though it’s not tempered.

Allow the chocolate to set up for just a second to a few minutes, depending on how warm it is where you live. You want the chocolate to be firm enough so that it doesn’t run and ruin your design, but still flexible enough to bend around the cake. Finding this sweet spot can be a little tricky. You’ll see the surface of the chocolate go from wet and shiny to dull but still sticky. This is the perfect point to wrap your cake.

Pick up the strip by the little flaps you left at the top. Place one end of the strip onto the cake and then lay the rest of the wrap around the cake. Don’t smush the wrap onto the cake with your hands, this might smear the design or crinkle the acetate. Instead, use the flaps to gently pull the wrap into place.
To close the seam, press the wrap against the cake where the overage meets the beginning edge of the wrap. Let the rest hang out over the side of the cake stand. Place the cake into the fridge for about 20 minutes, or until the chocolate is completely set.
Pull the cake from the fridge and gently take off the acetate. It should pull off very easily at this point.

Warm up your knife by running it under very hot water or by heating it up with a blow dryer. Use the hot blade to trim away the excess chocolate. Score a line with the knife and run back over the line repeatedly until the chocolate is cut all the way through. Try and be very patient at this point, so that you don’t crack your wrap.
If any part of your design chips, or doesn’t make it from the acetate onto the cake, you can go back in with your paint brush and touch up with more melted cocoa butter as needed.

Fill in the top of the cake with more buttercream, chocolate, or ganache. Just make sure that whatever you fill in the space with isn’t warm enough to melt the wrap.
I topped my cake with a few chocolate and cocoa butter blossoms, but this bright and cheery cake would be gorgeous as-is.

VENDORS & CREDITS
Tutorial : Erin Gardner of Erin Bakes
Các tin cùng chuyên mục
Bảng chữ số Vương miện - 01/08/2015 18:30Hướng dẫn nặn hình theo chủ đề đại dương - 11/04/2015 17:54
Tự làm Gumpaste tại nhà - 27/12/2014 10:12
Hướng dẫn làm hoa mao lương - Ranunculus Tutorial - 29/11/2014 12:25
Công thức tự làm sugarveil - 28/11/2014 10:15
Hướng dẫn cách trang trí bánh quy đơn giản cho valentine - 13/11/2014 12:57
Hướng dẫn nặn hình đôi bốt cho bé, yếm và bộ body - 13/11/2014 12:52
How to Quilt a Fondant Cake - 13/11/2014 12:51
Moroccan Cake + A Wafer Paper Flower Tutorial - 03/11/2014 08:53
Hướng dẫn phủ fondant làm xe ô tô minicooper - 19/08/2014 11:14
Cách làm hoa theo kiểu RUFFLE FLOWERL đơn giản - 17/08/2014 09:47
Hướng dẫn cách làm hoa bánh fondant chủ đề tím trắng - 17/08/2014 09:45
Hướng dẫn cách trang trí bánh fondant nông trại - 17/08/2014 09:42
Hướng cách nặn quần áo, giầy, váy em bé - 17/08/2014 09:40
Cách nặn fondant em bé - 17/08/2014 09:37

Bánh sinh nhật whipping hoa quả theo mùa tươi mát tại Hunnie CakeGiá: 350.000 VNĐ
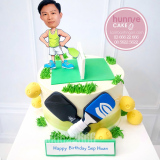
Bánh sinh nhật Pickleball thiết kế độc đáo dành tặng bạn traiGiá: 500.000 VNĐ
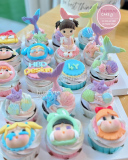
Set bánh cupcake sinh nhật tiên cá đại dương lung linh cho bé gáiGiá: 35.000 VNĐ / Chiếc
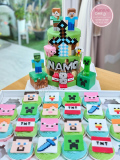
Bánh kem Minecraft 2 tầng kèm cupcake độc đáo tặng bé trai đam mê sáng tạoGiá: 2.300.000 VNĐ
Bánh kem Kuromi kèm cupcake đồng bộ món quà sinh nhật hoàn hảo cho béGiá: 1.150.000 VNĐ
Dạy làm bánh - Nhận đặt Bánh cưới, Bánh sinh nhật, Bánh Handmade 100% theo yêu cầu - Cung cấp nguyên liệu, dụng cụ làm bánh
Cơ sở 1: Số 65 Ngõ 111 Cù Chính Lan - Thanh Xuân - Hà Nội (Đến số 311 Trường Chinh - Ngã tư sở đi vào) (Xem bản đồ)
Cơ sở 2: Số 10A Tràng An - phường Tân Thành - Thành phố Ninh Bình. ( Đối diện hồ Kỳ Lân) ( Xem bản đồ)
Điện thoại : 03.666.22.666 (Viber/Zalo) - 08.5622.5622 - 0983.002.989 (WhatsApp)
Tài khoản Ngân hàng: 174001060003636 - Bac a Bank CN Thăng Long - HO KINH DOANH CUA HANG BANH HUNNIE
Email: hunniecakehn@gmail.com
--------------------------
|
Cửa hàng bánh Hunnie Cake |